
HOW TO :: Homemade Apple Cider Vinegar

Last year, my friend Ritzy went apple picking and brought home about 40lbs of apples. That's a lot! I told her to drop them to me and I'd take care of half of them. Using the recipe below, though on a much larger scale, I made a HUGE batch of homemade apple cider vinegar that lasted me all year. It lasts because I make sure to use it only in raw applications - cooking the vinegar kills the live microbes and probiotics that are so good for you. THIS PROJECT IS WORTH THE EFFORT!
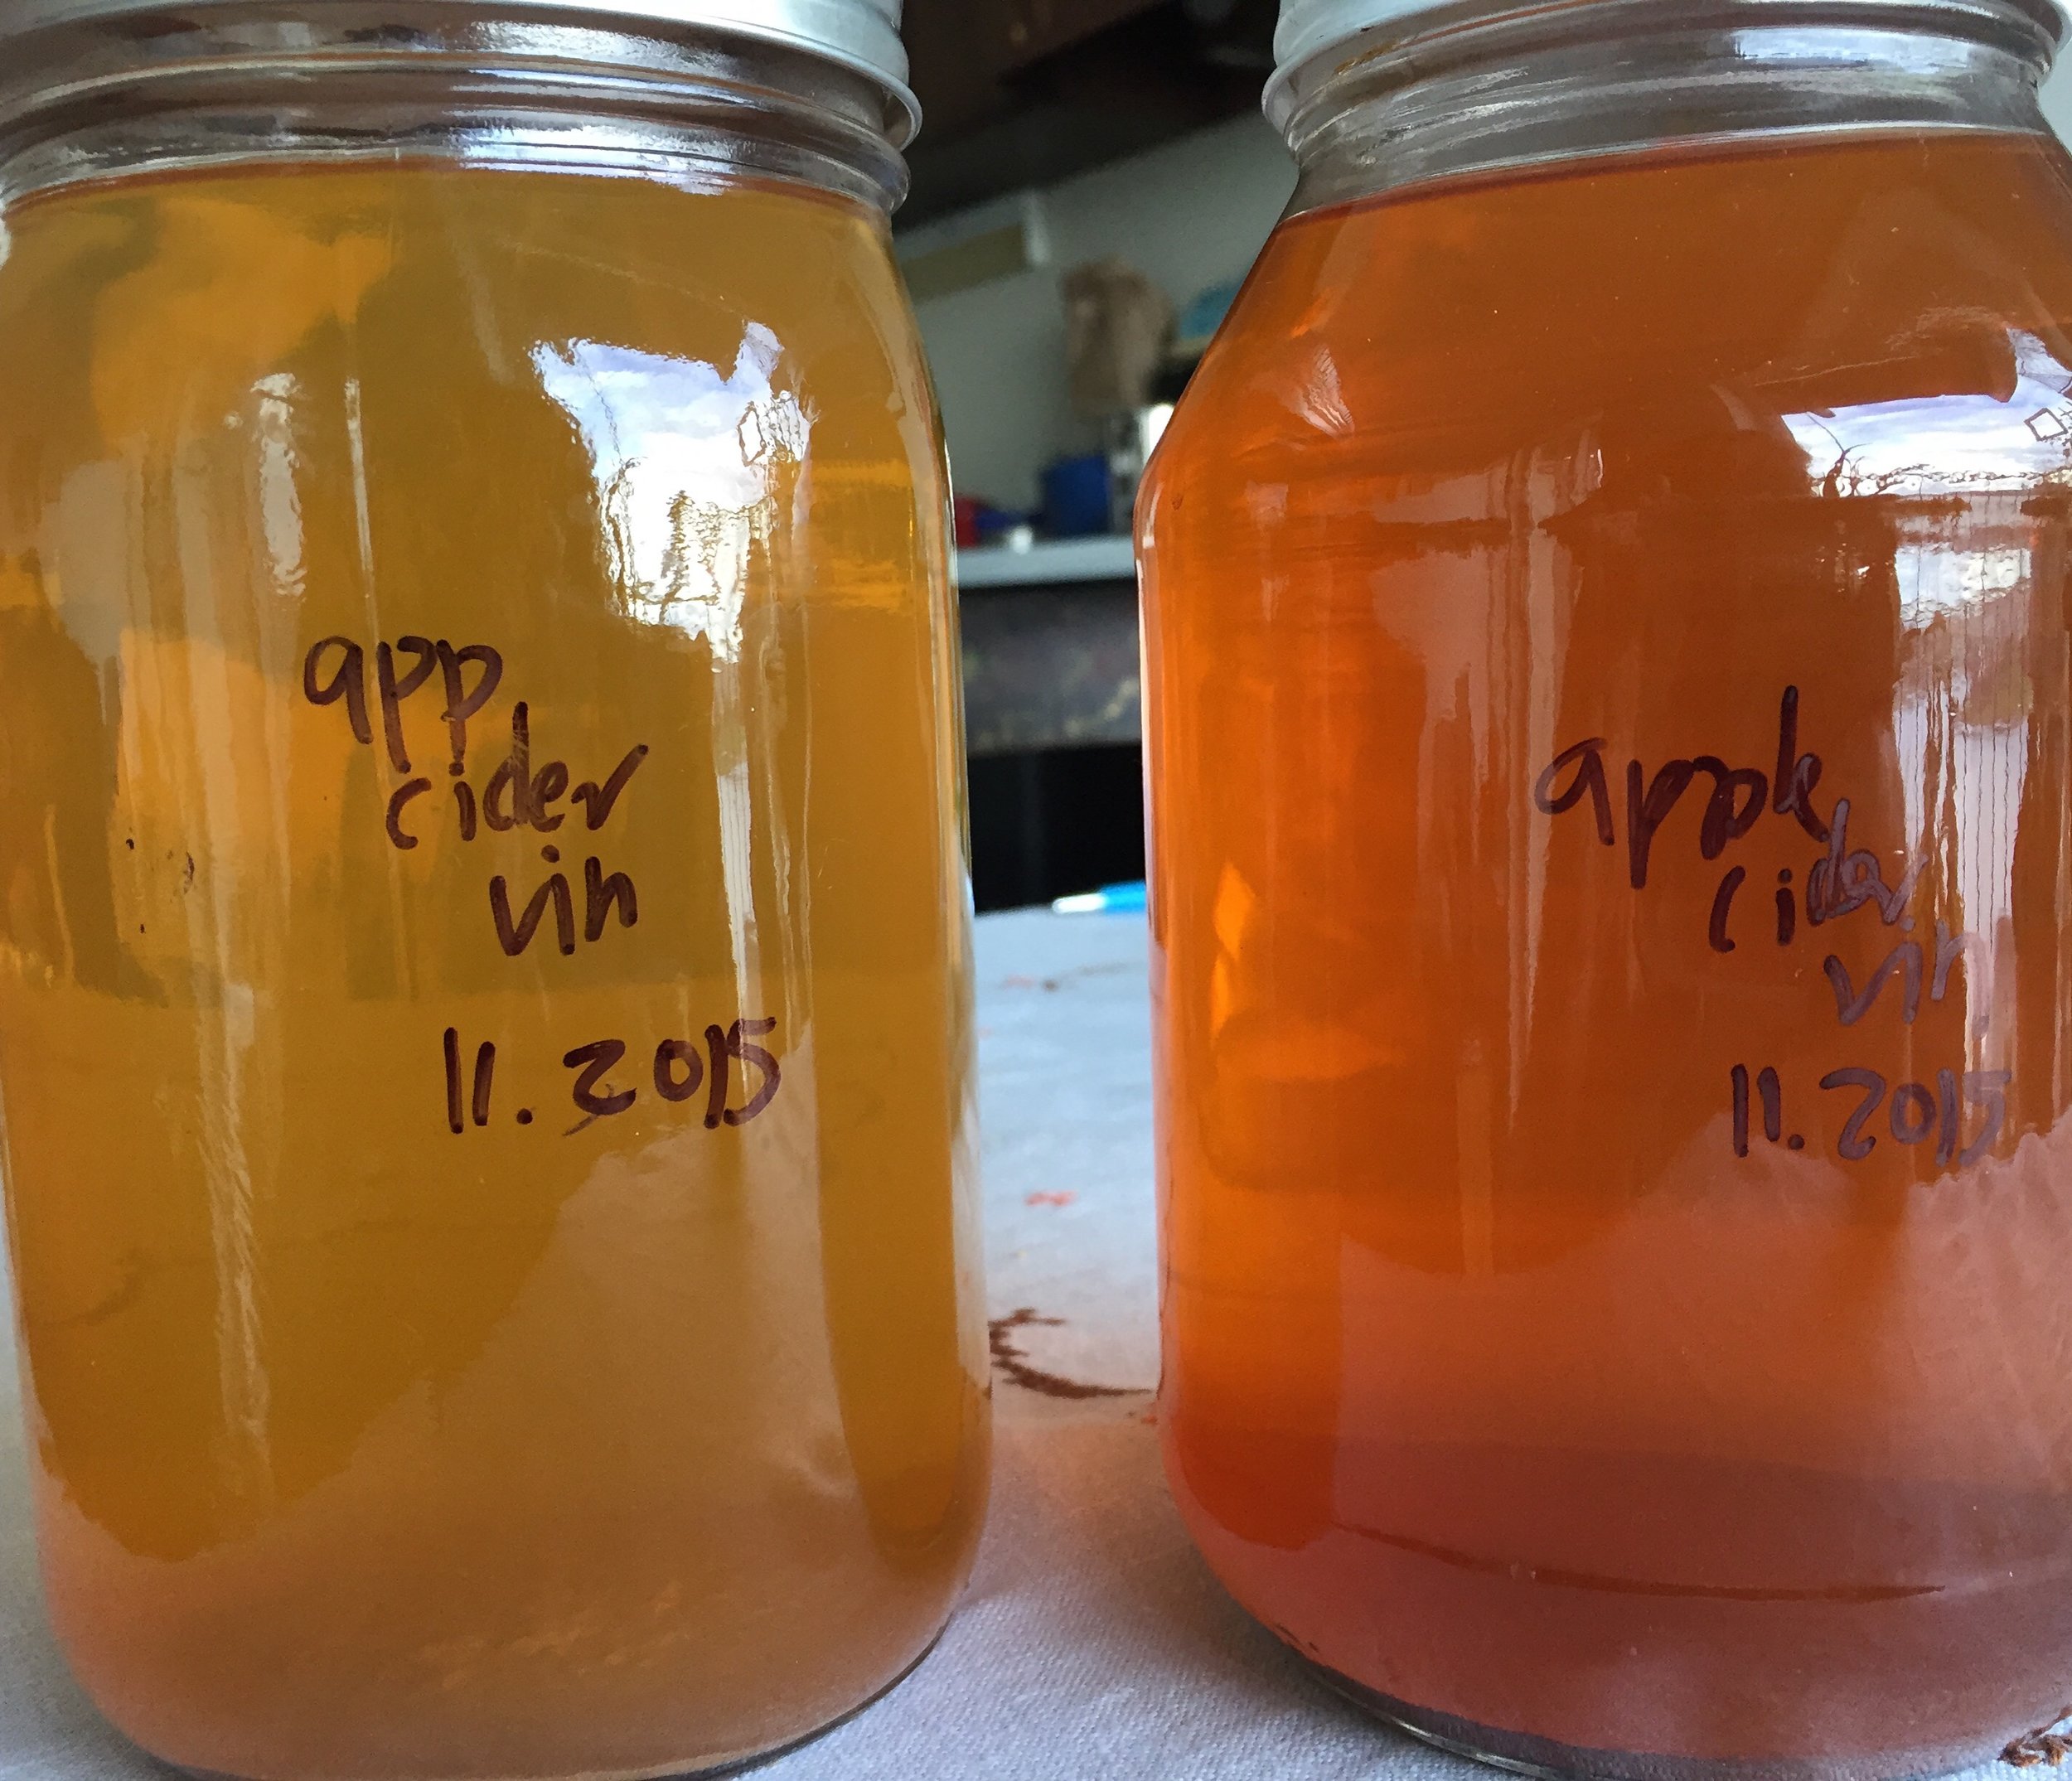
The resulting vinegar was apple-forward, and a bit tangy on the finish. While the nose was pretty vinegar-y, it would be great in a beverage - not offensive in anyway. It's good to note that the I left one batch to ferment in the air for two months more after the initial fermentation period - the color was much darker, the flavor was stronger and it was a bit too alcohol-y and ferment-y, though it mellowed with age.
HOMEMADE APPLE CIDER VINEGAR
Apple cider vinegar is a soft, round vinegar that is slightly sweet. Perfect for dressing salads or using in pickles, this vinegar lacks the hard bite of traditional white vinegar. Apple cider vinegar is also a decent replacement for lemons when you don’t have any around, and works well in a gravy or sauce.
It is fairly easy to make your own homemade apple cider vinegar at home. You can use scraps from apples—the cores and skins make great starters. Of course, you can use whole apples, as well; just be sure to choose ripe ones, as they have a higher sugar content than unripe apples. Choosing bruised apples, called seconds, at the farmers’ market is an affordable option. This recipe forgoes any formal procuring of brewer’s yeast, casks, and equipment, and sticks to using materials found in most homes. Use a large nonreactive pot for this project—a large stainless steel pot or a deep earthenware pot work well.
With vinegar-making, oxygen needs to be present—in order for alcohol to turn to vinegar, it needs air. Oxygen on a liquid’s surface will help bacteria in the process of converting alcohol to acetic acid, (the vinegar). You must watch for mold forming on the surface of your solution. Mold is an indication that the balance of acid to sugar is off; it generally will not form if the balance is correct. In the event that mold presents itself on the apples’ surface, skim it off and keep an eye on the jar. If mold develops again, toss the batch and start over—something may be off with the batch.
Makes about 1 Quart
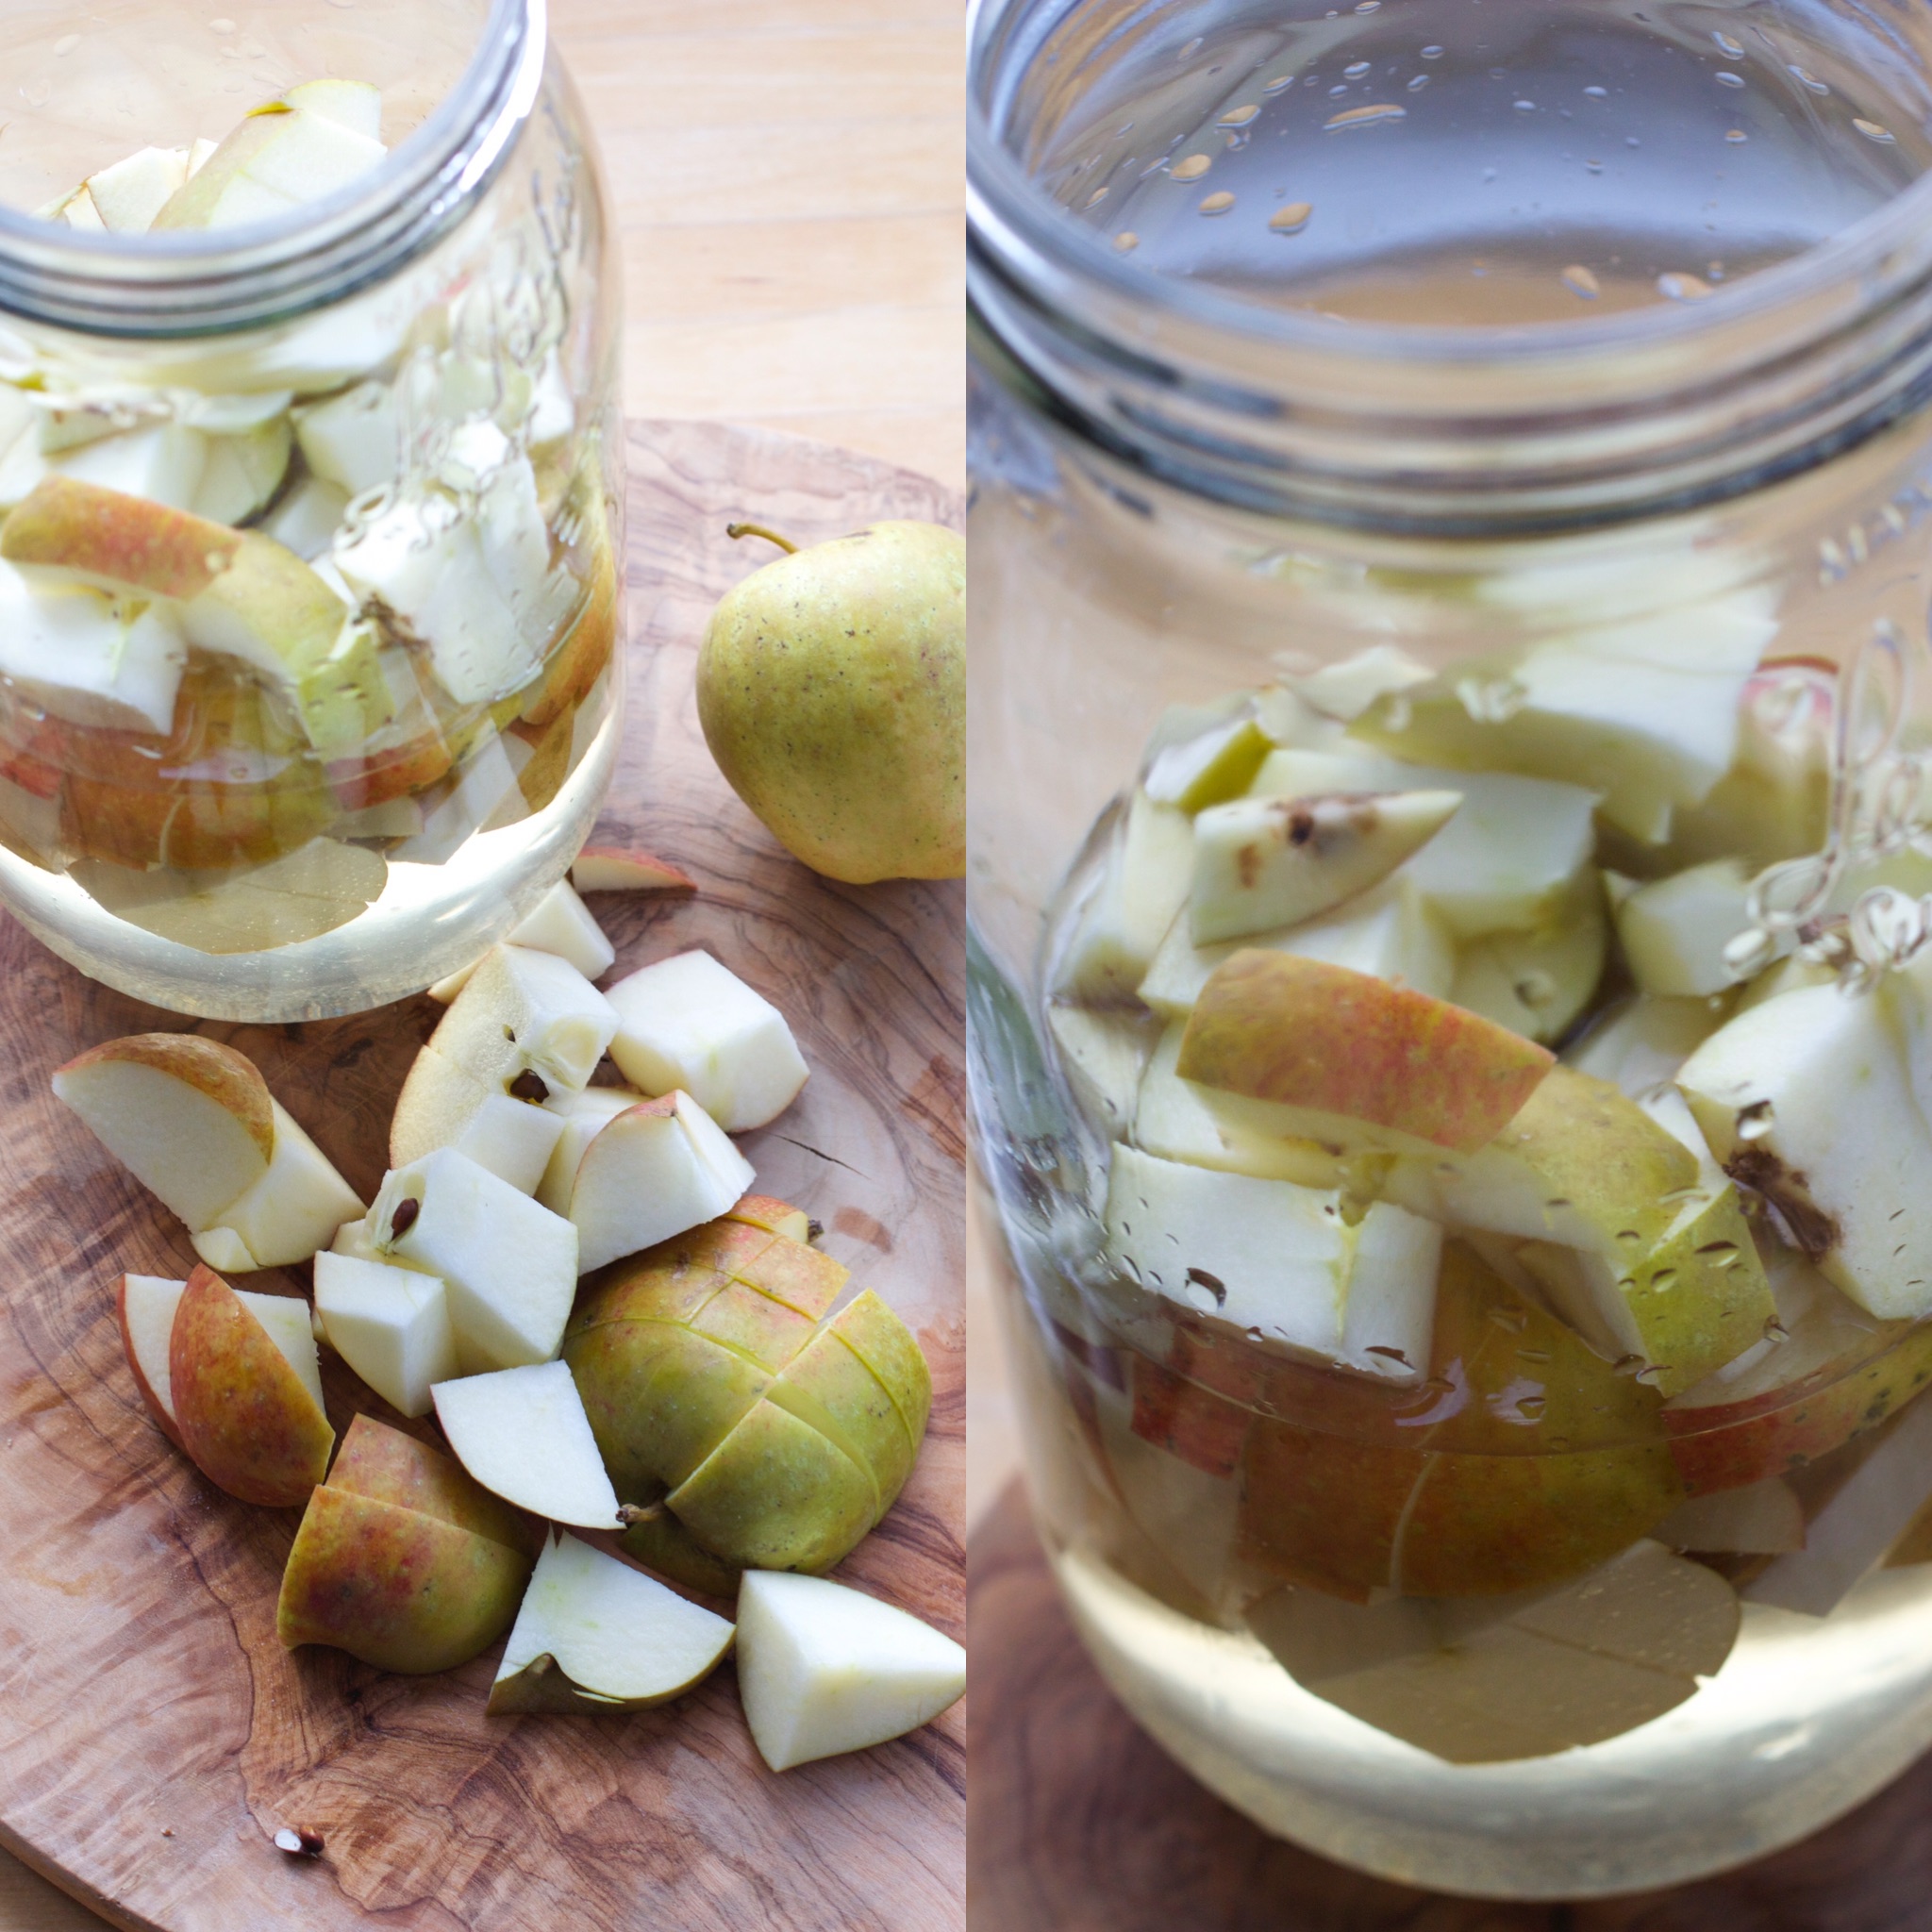
Scraps from 10 apples (cores and peels), or 5 whole apples, finely chopped 1/4 cup sugar 4 cups water Cheesecloth
Put the apple pieces in a large pot. Dissolve the sugar in the water and pour over the apple scraps; they should be covered completely. If they are not, make another mixture of 4 cups water and 1/4 cup sugar and add to the pot, but only enough to cover apples.
Cover the top of the pot with 4 layers of thick cheesecloth secured with kitchen twine, and set it in a warm spot in the kitchen. The interior of a cupboard works well, as does a countertop. (If you’re making vinegar in summer, secure the cheesecloth tightly to prevent fruit flies from getting into the pot and laying eggs, which will spoil the batch.)
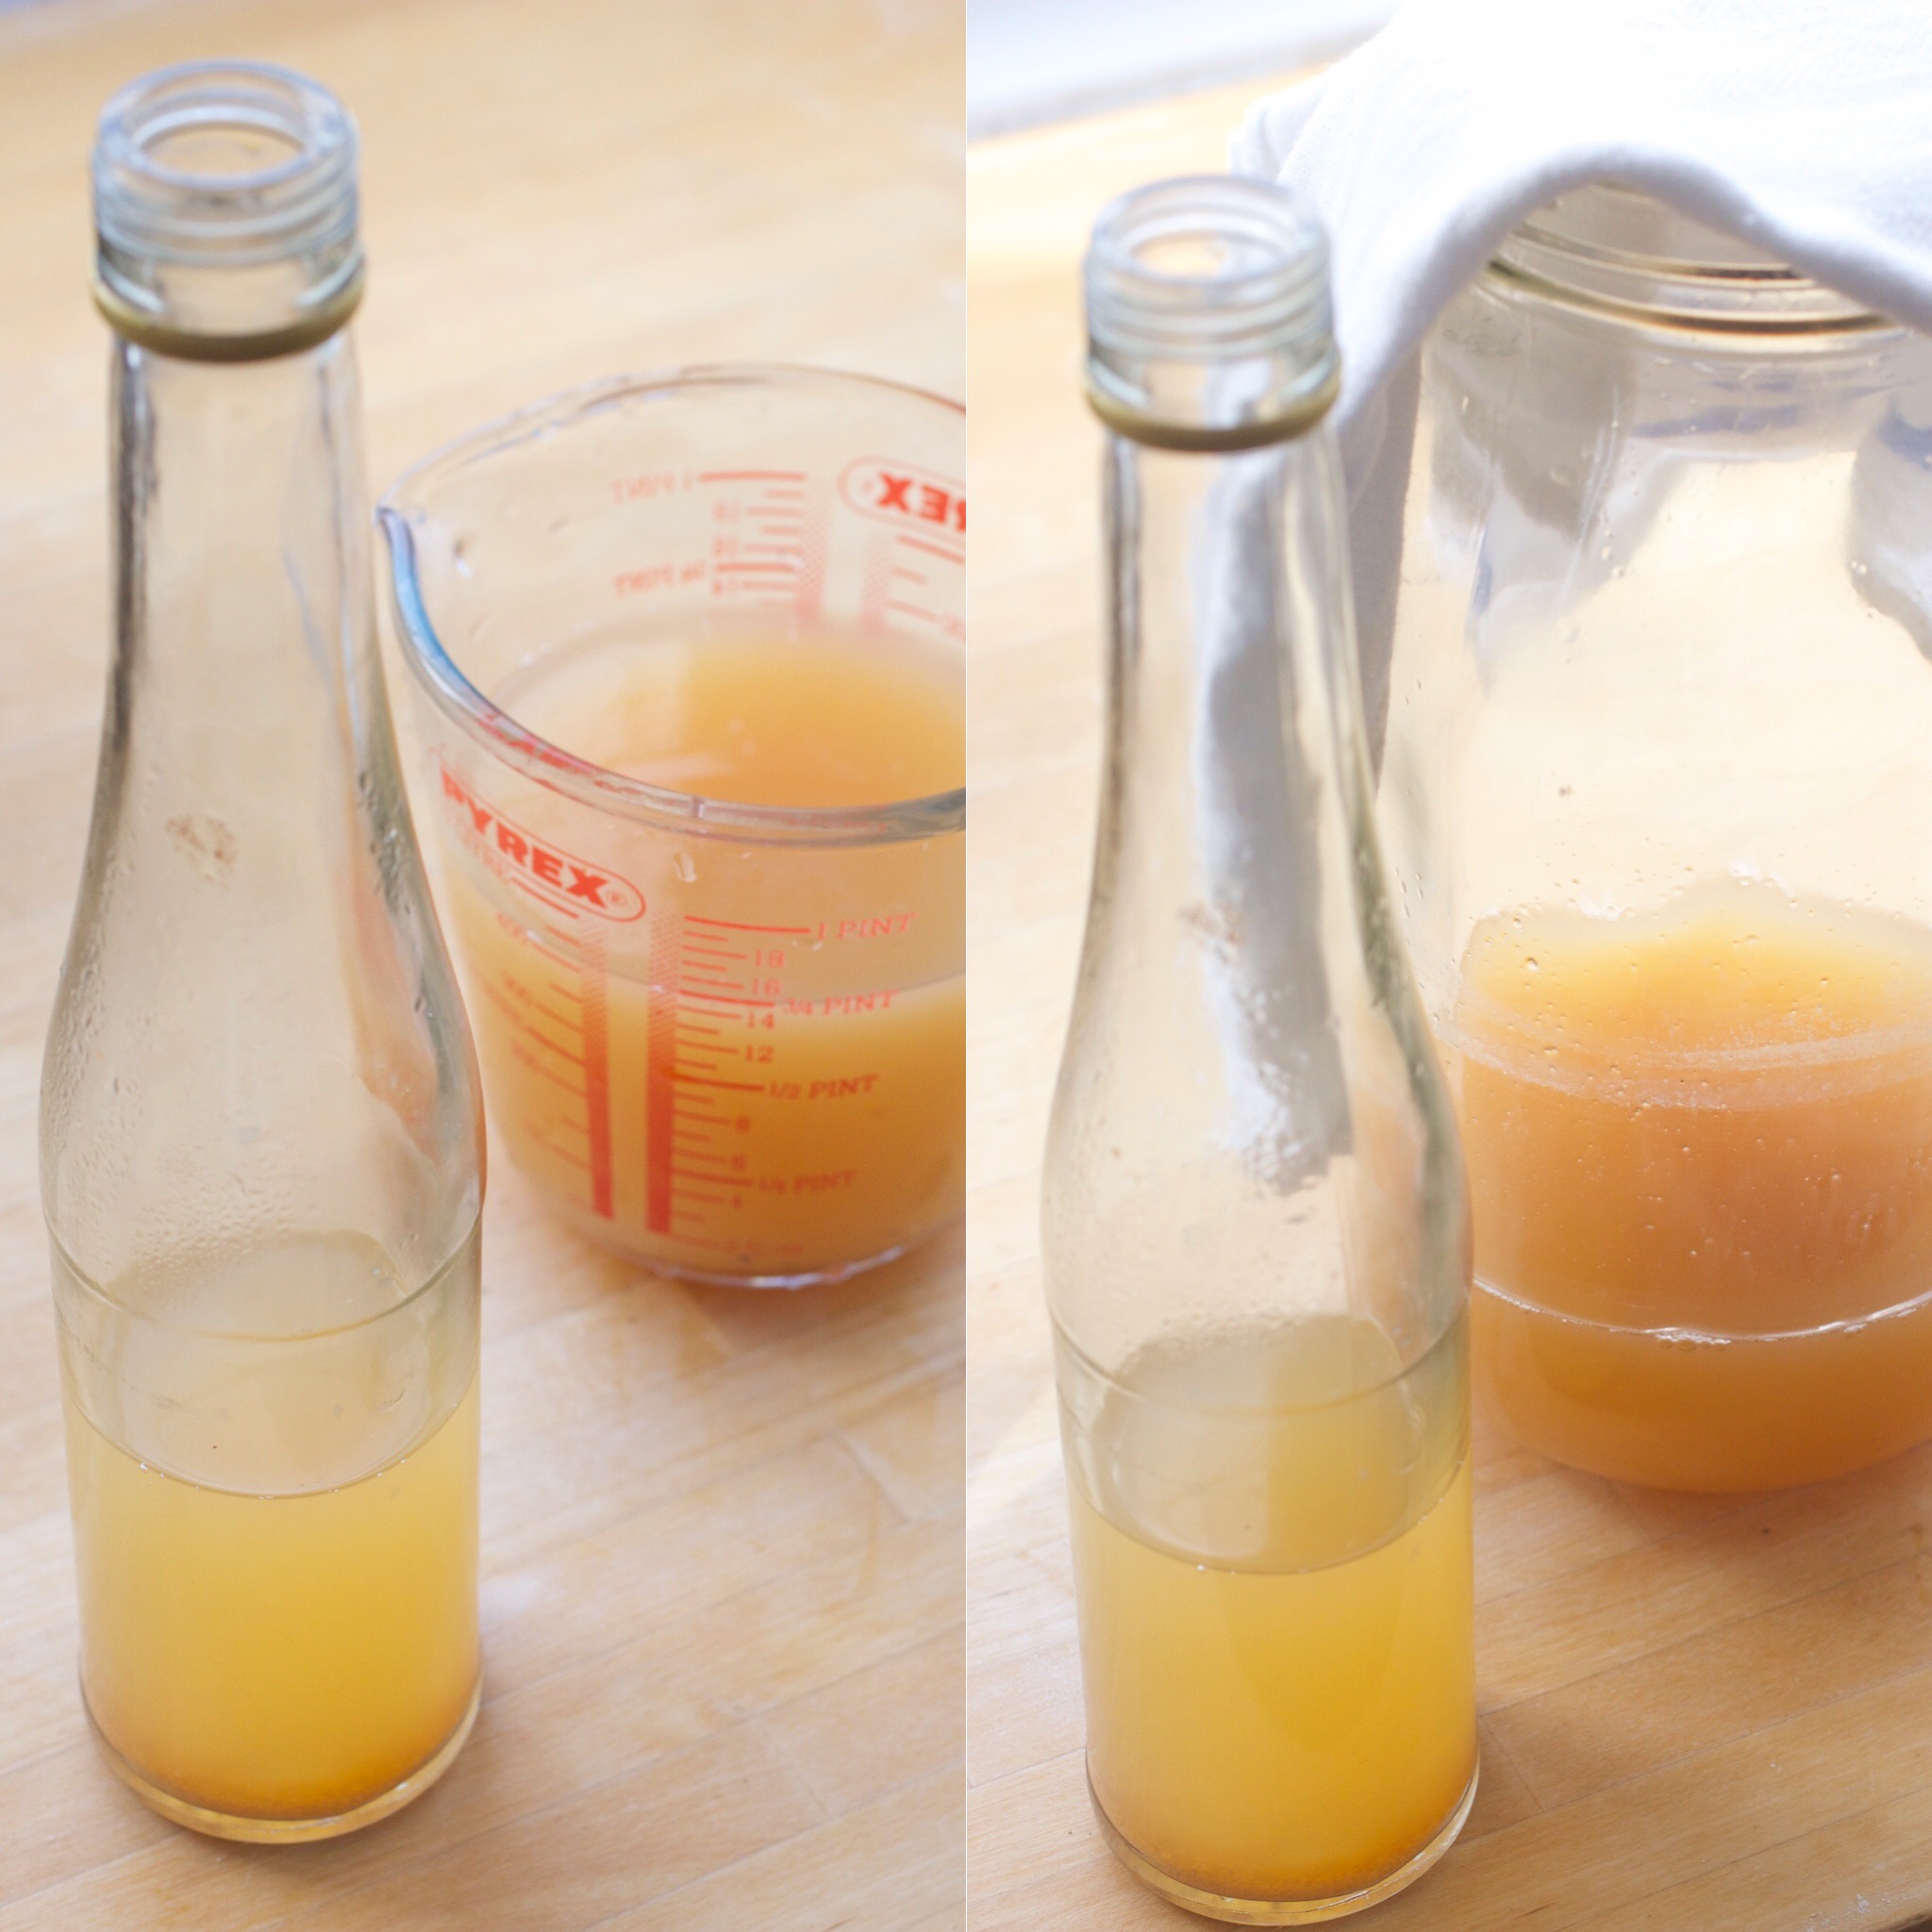
Leave the mixture for 1 week to macerate and ferment. The liquid may darken slightly and the apple mash will bubble—all signs of a good fermentation. After a week, strain out the apple mash from the liquid by setting it in a mesh strainer over a deep pot and allowing the mash to sit for 24 hours. Do not press the mash, as this adds apple solids to the liquid. After it has strained completely, compost the mash.
Return the apple liquid to the container, and cover it again with a thick layer of cheesecloth. Put the container in a warm spot and let it sit for 2 to 3 weeks, allowing the sugars to convert to vinegar. Stir or swirl the liquid every few days, to allow for air circulation and oxygen.
After 2 weeks, taste a spoonful of your vinegar for doneness. If the vinegar still tastes fruity and not acidic enough, let it sit for another week and taste again. After 3 weeks total, the liquid should be completely converted to apple cider vinegar.
To store homemade apple cider vinegar, strain the liquid with a fine mesh sieve and pour it into clean, sterilized glass bottles. Store vinegar in a cool, dark place. Do not use homemade vinegar in canned goods, as acidity levels vary with each batch. Homemade apple cider vinegar keeps indefinitely.